 (image via knitsteel)
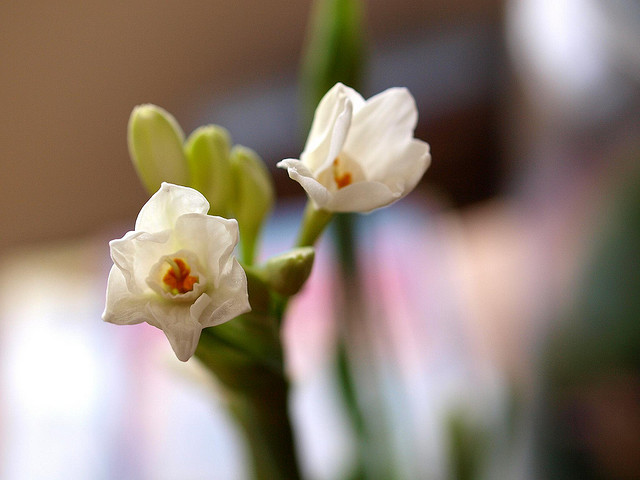
Long before crocuses emerge from the snow in spring, eons before daffodils show even the slightest signs of life, there’s a magical, marvelous bulb that’s ready to bloom. The paperwhite. Narcissus tazetta. Pretty and little and white, they add such a bright spot of happiness to any windowsill this time of year. Plant them indoors now, and you’ll have a gorgeous show of white flowers by Christmas.
I love me some festive wreaths, and three cheers for garlands and Christmas trees, but all those wonderful evergreens are, well, dead. Paperwhites are wonderfully alive. You can see them growing daily. First, their little green tips emerge from the bulbs, and then they shoot to the sky, and then finally, they burst into intoxicating white blooms. Take a few bulbs in a small container as a hostess gift, and when the paperwhites flower a few weeks later, you’re pretty much guaranteed to be the most fondly remembered guest.
And they’re EASY! You’re 4 easy (seriously, easy) steps away from paperwhite heaven.
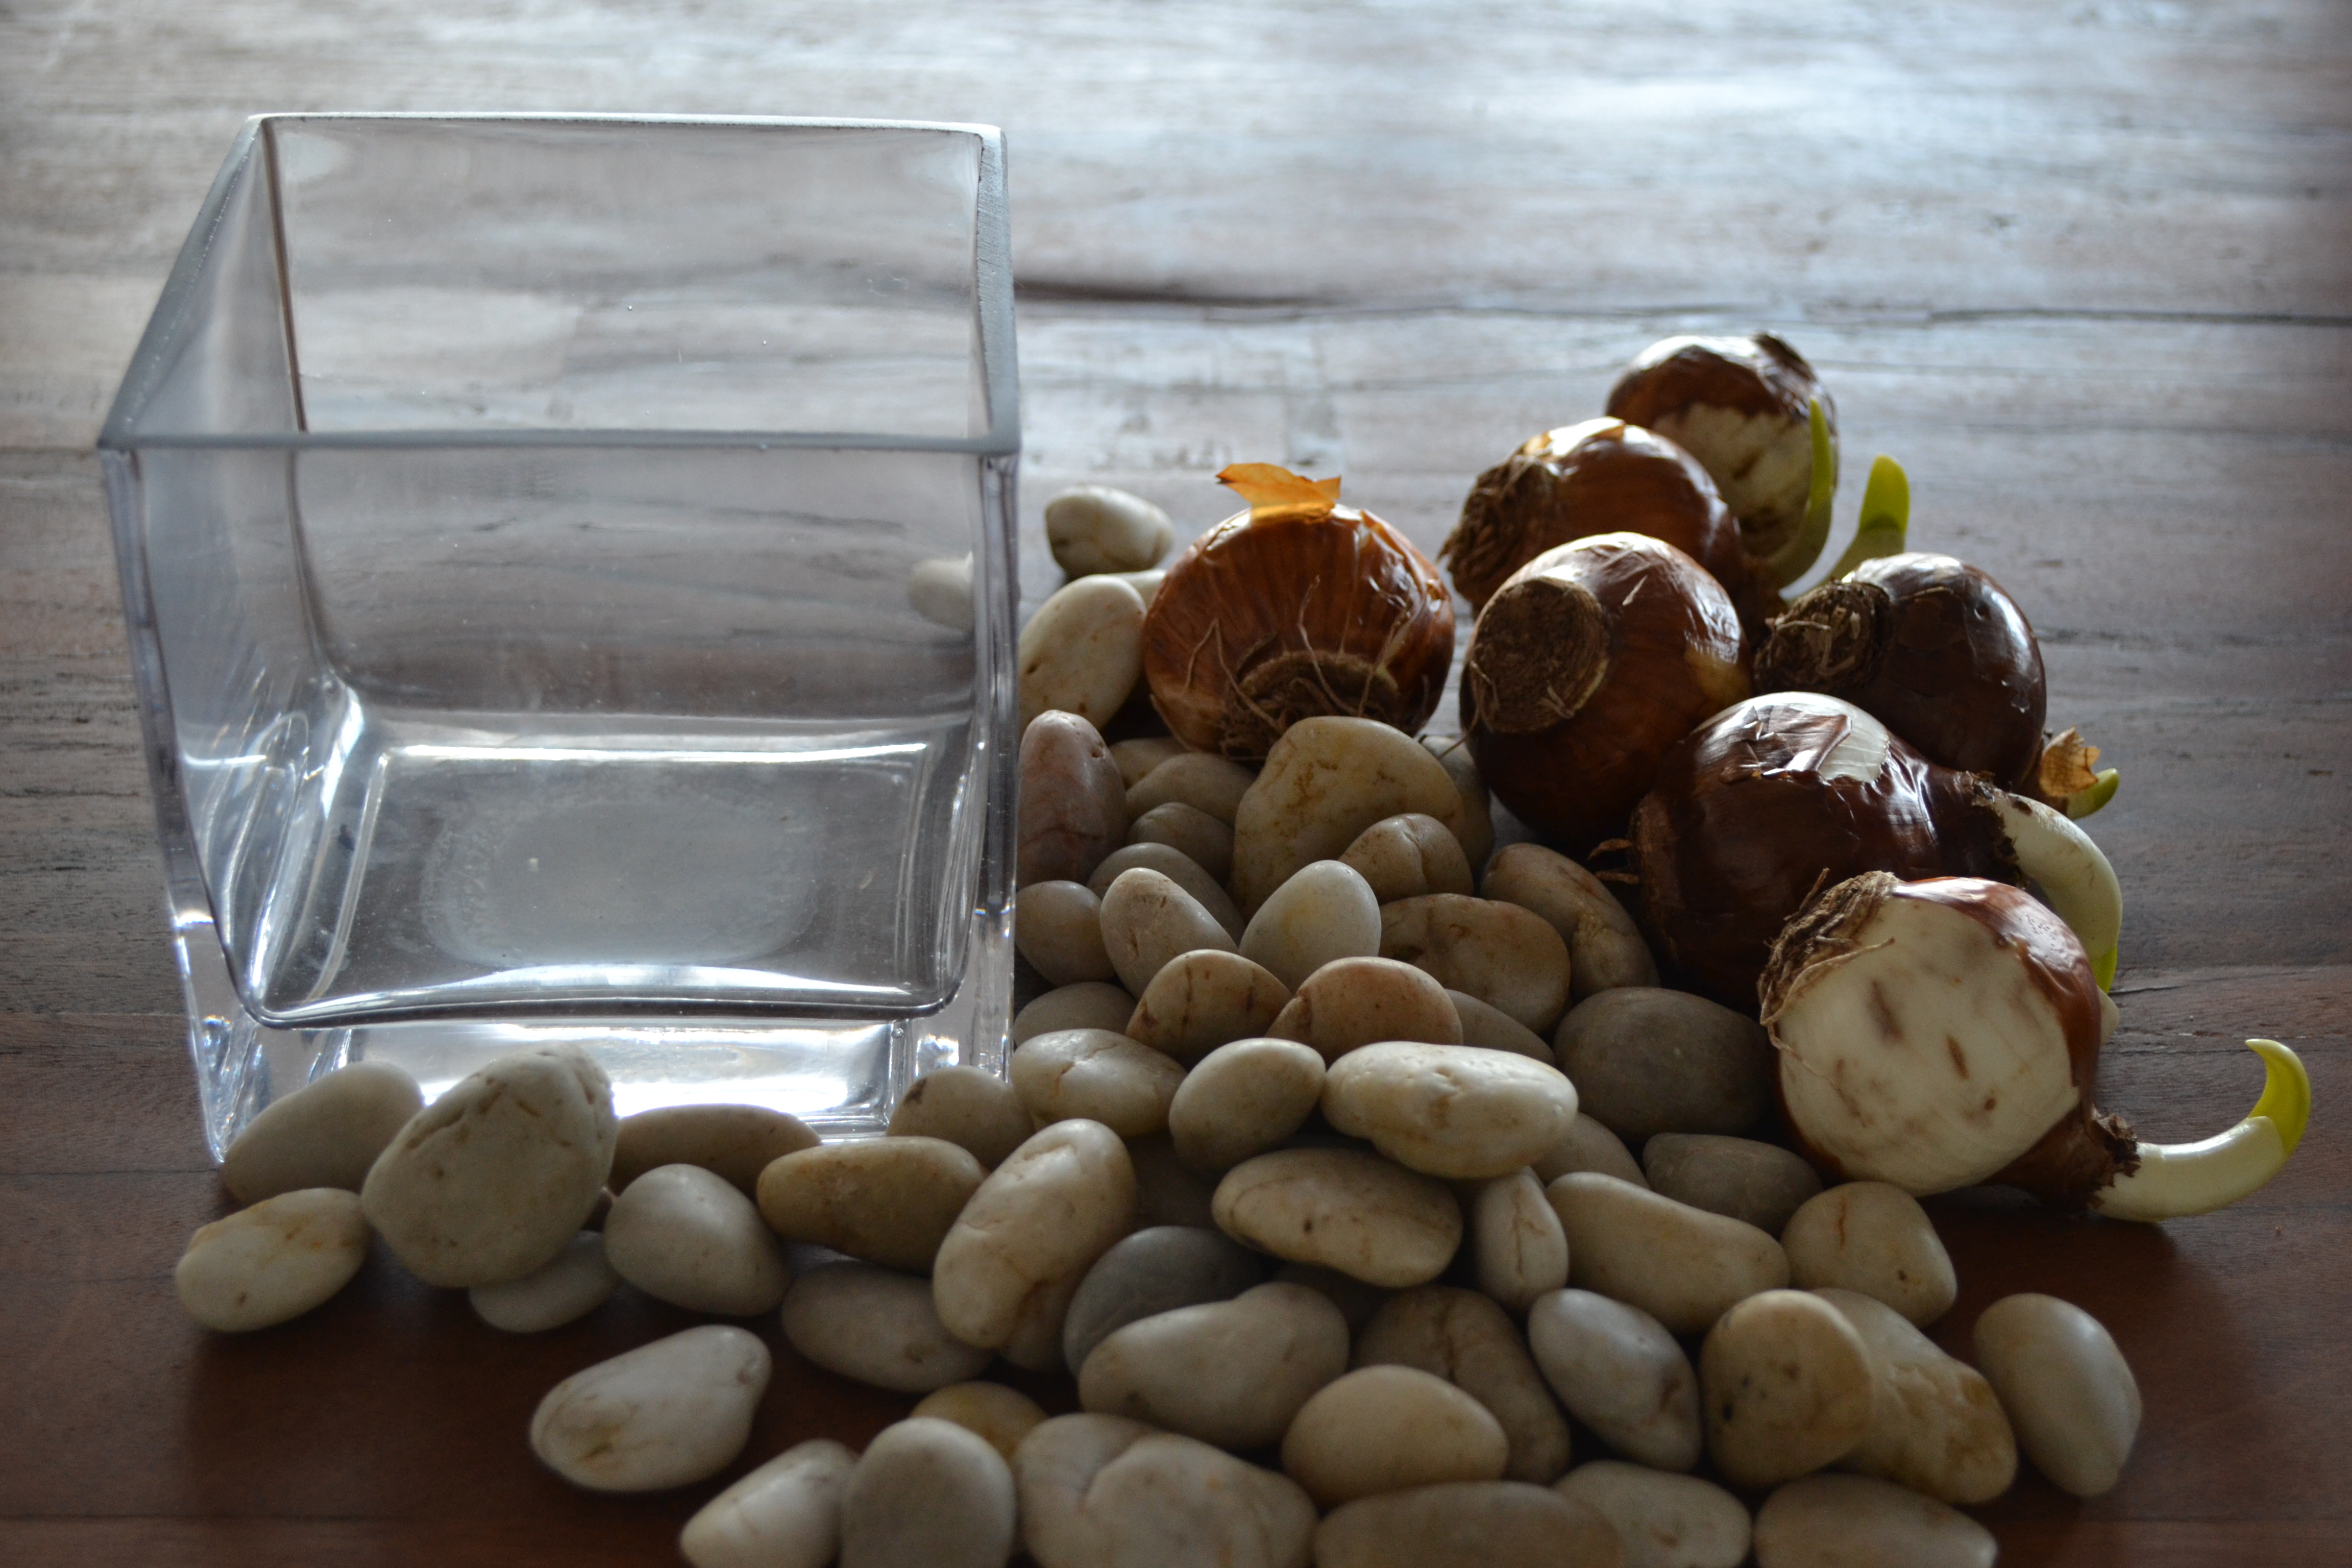
- Step 1: Choose a container
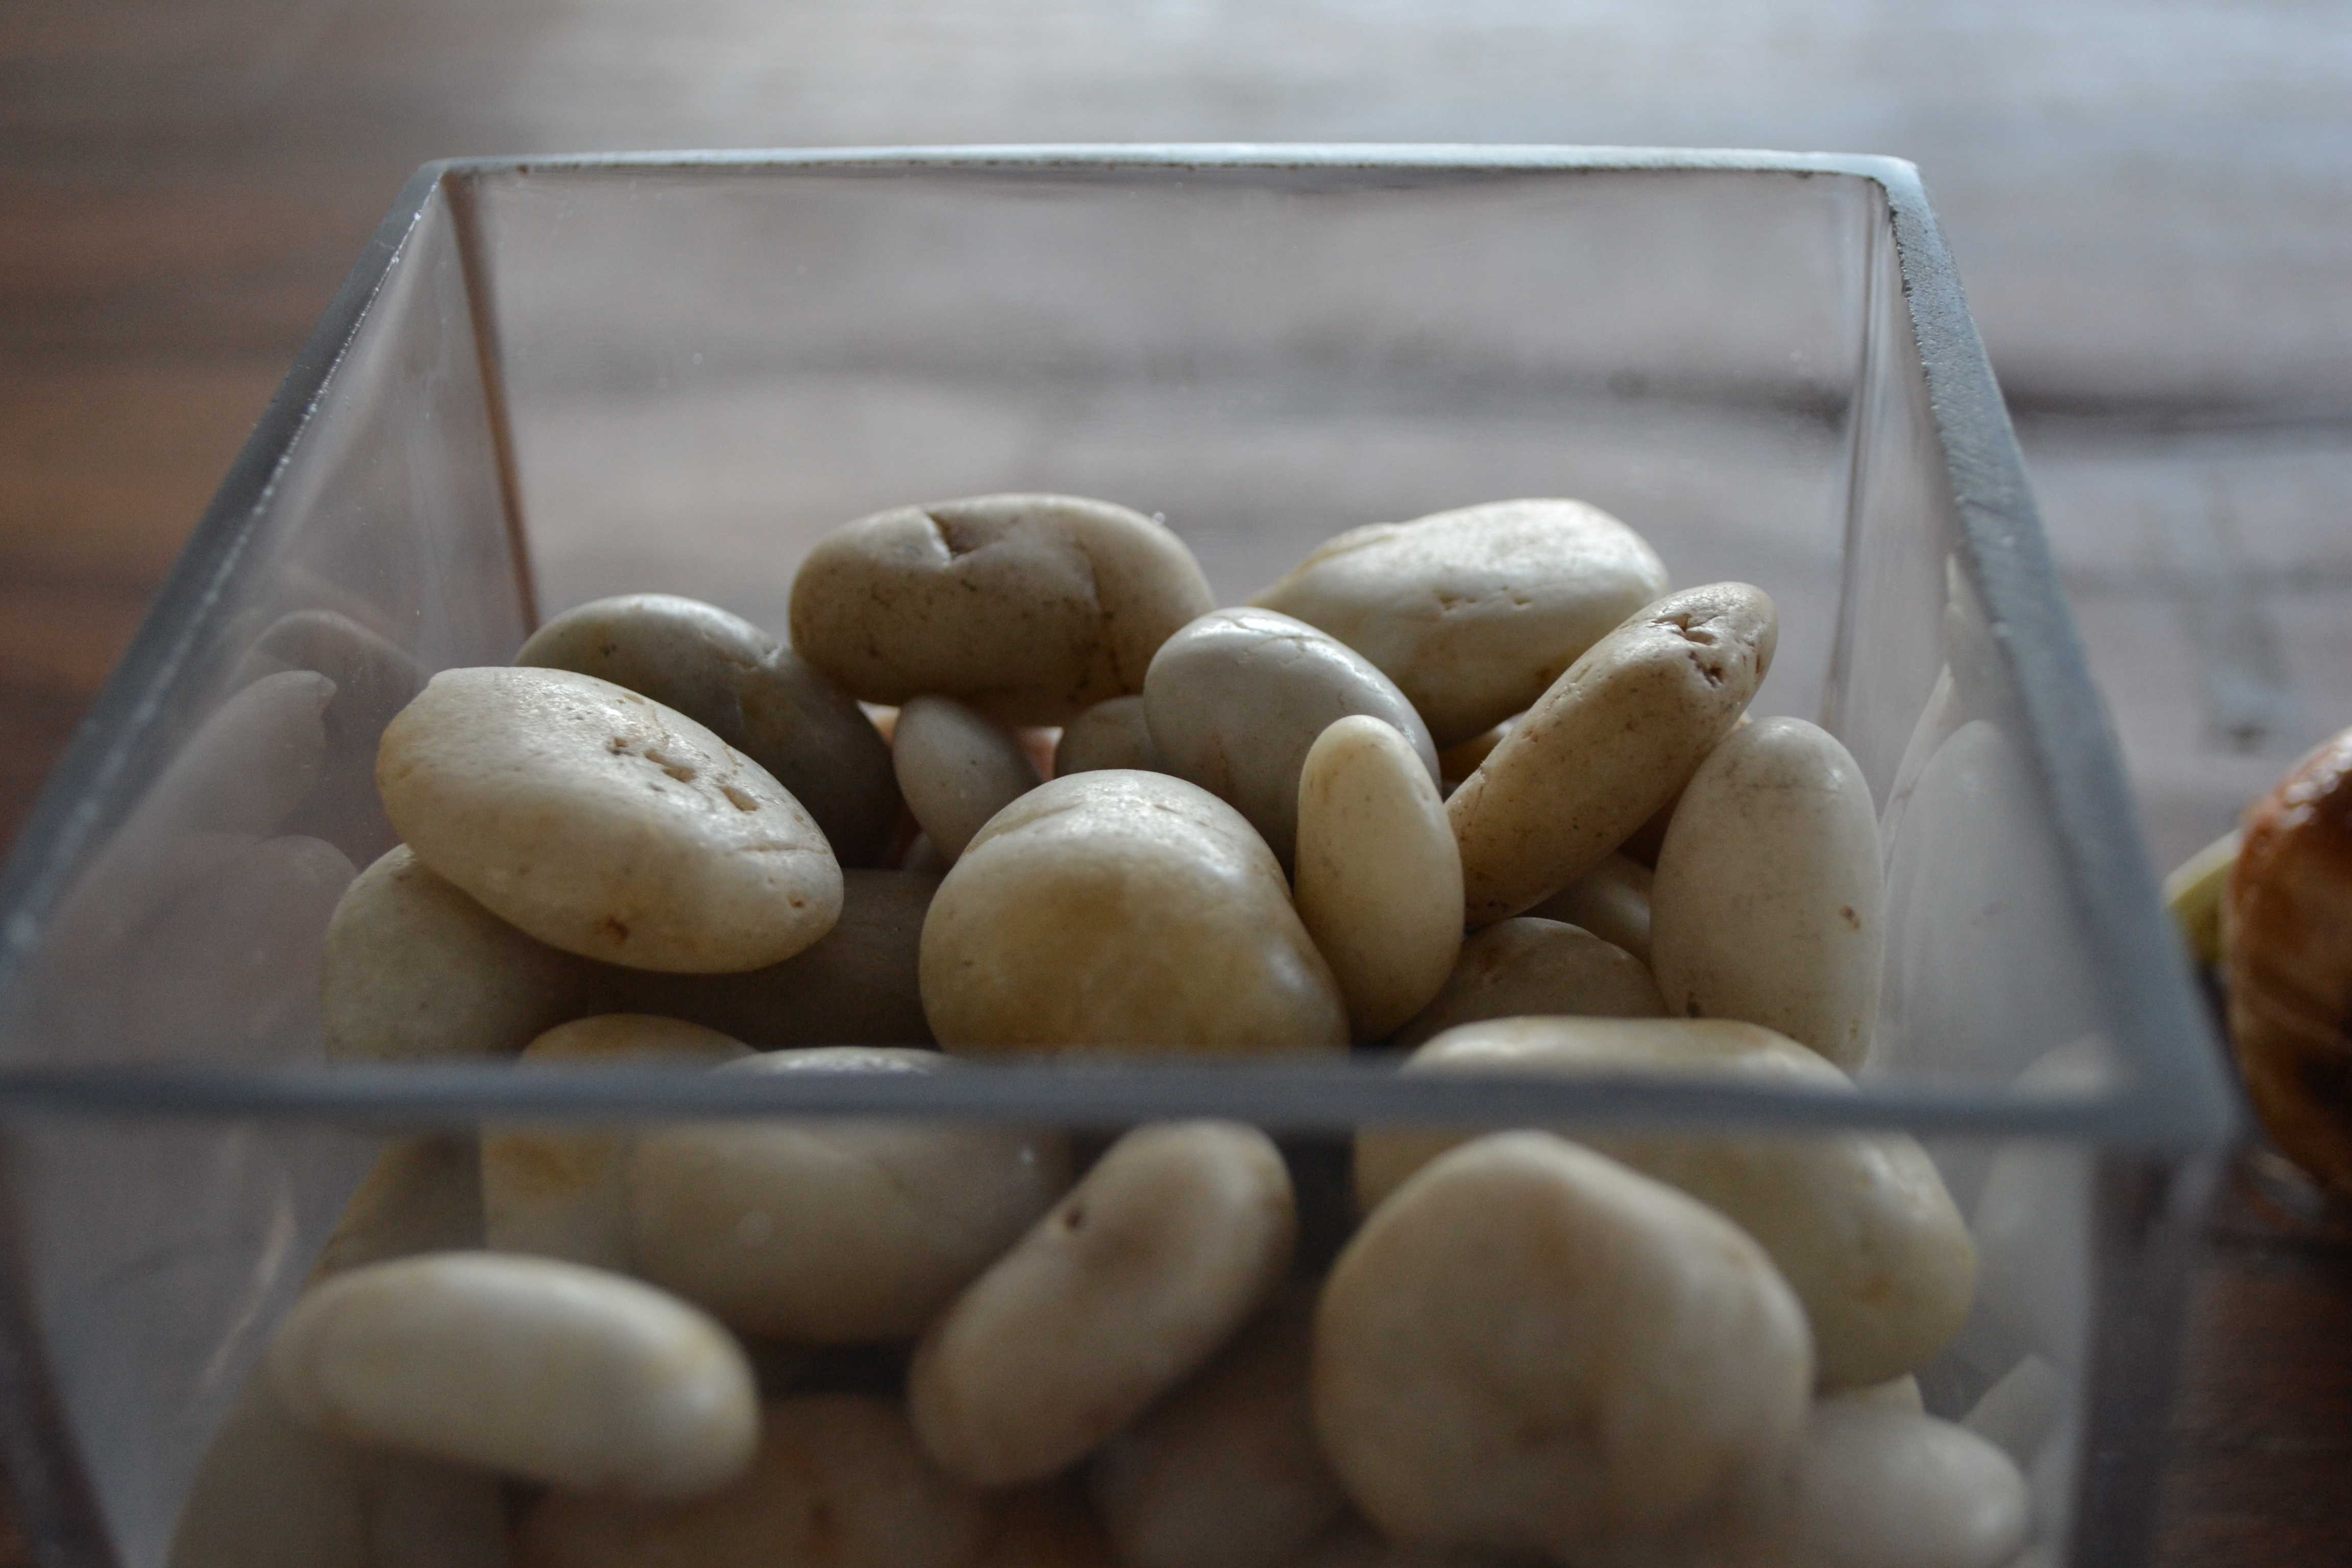
- Step 2: Fill it 2/3 full of gravel or river rocks
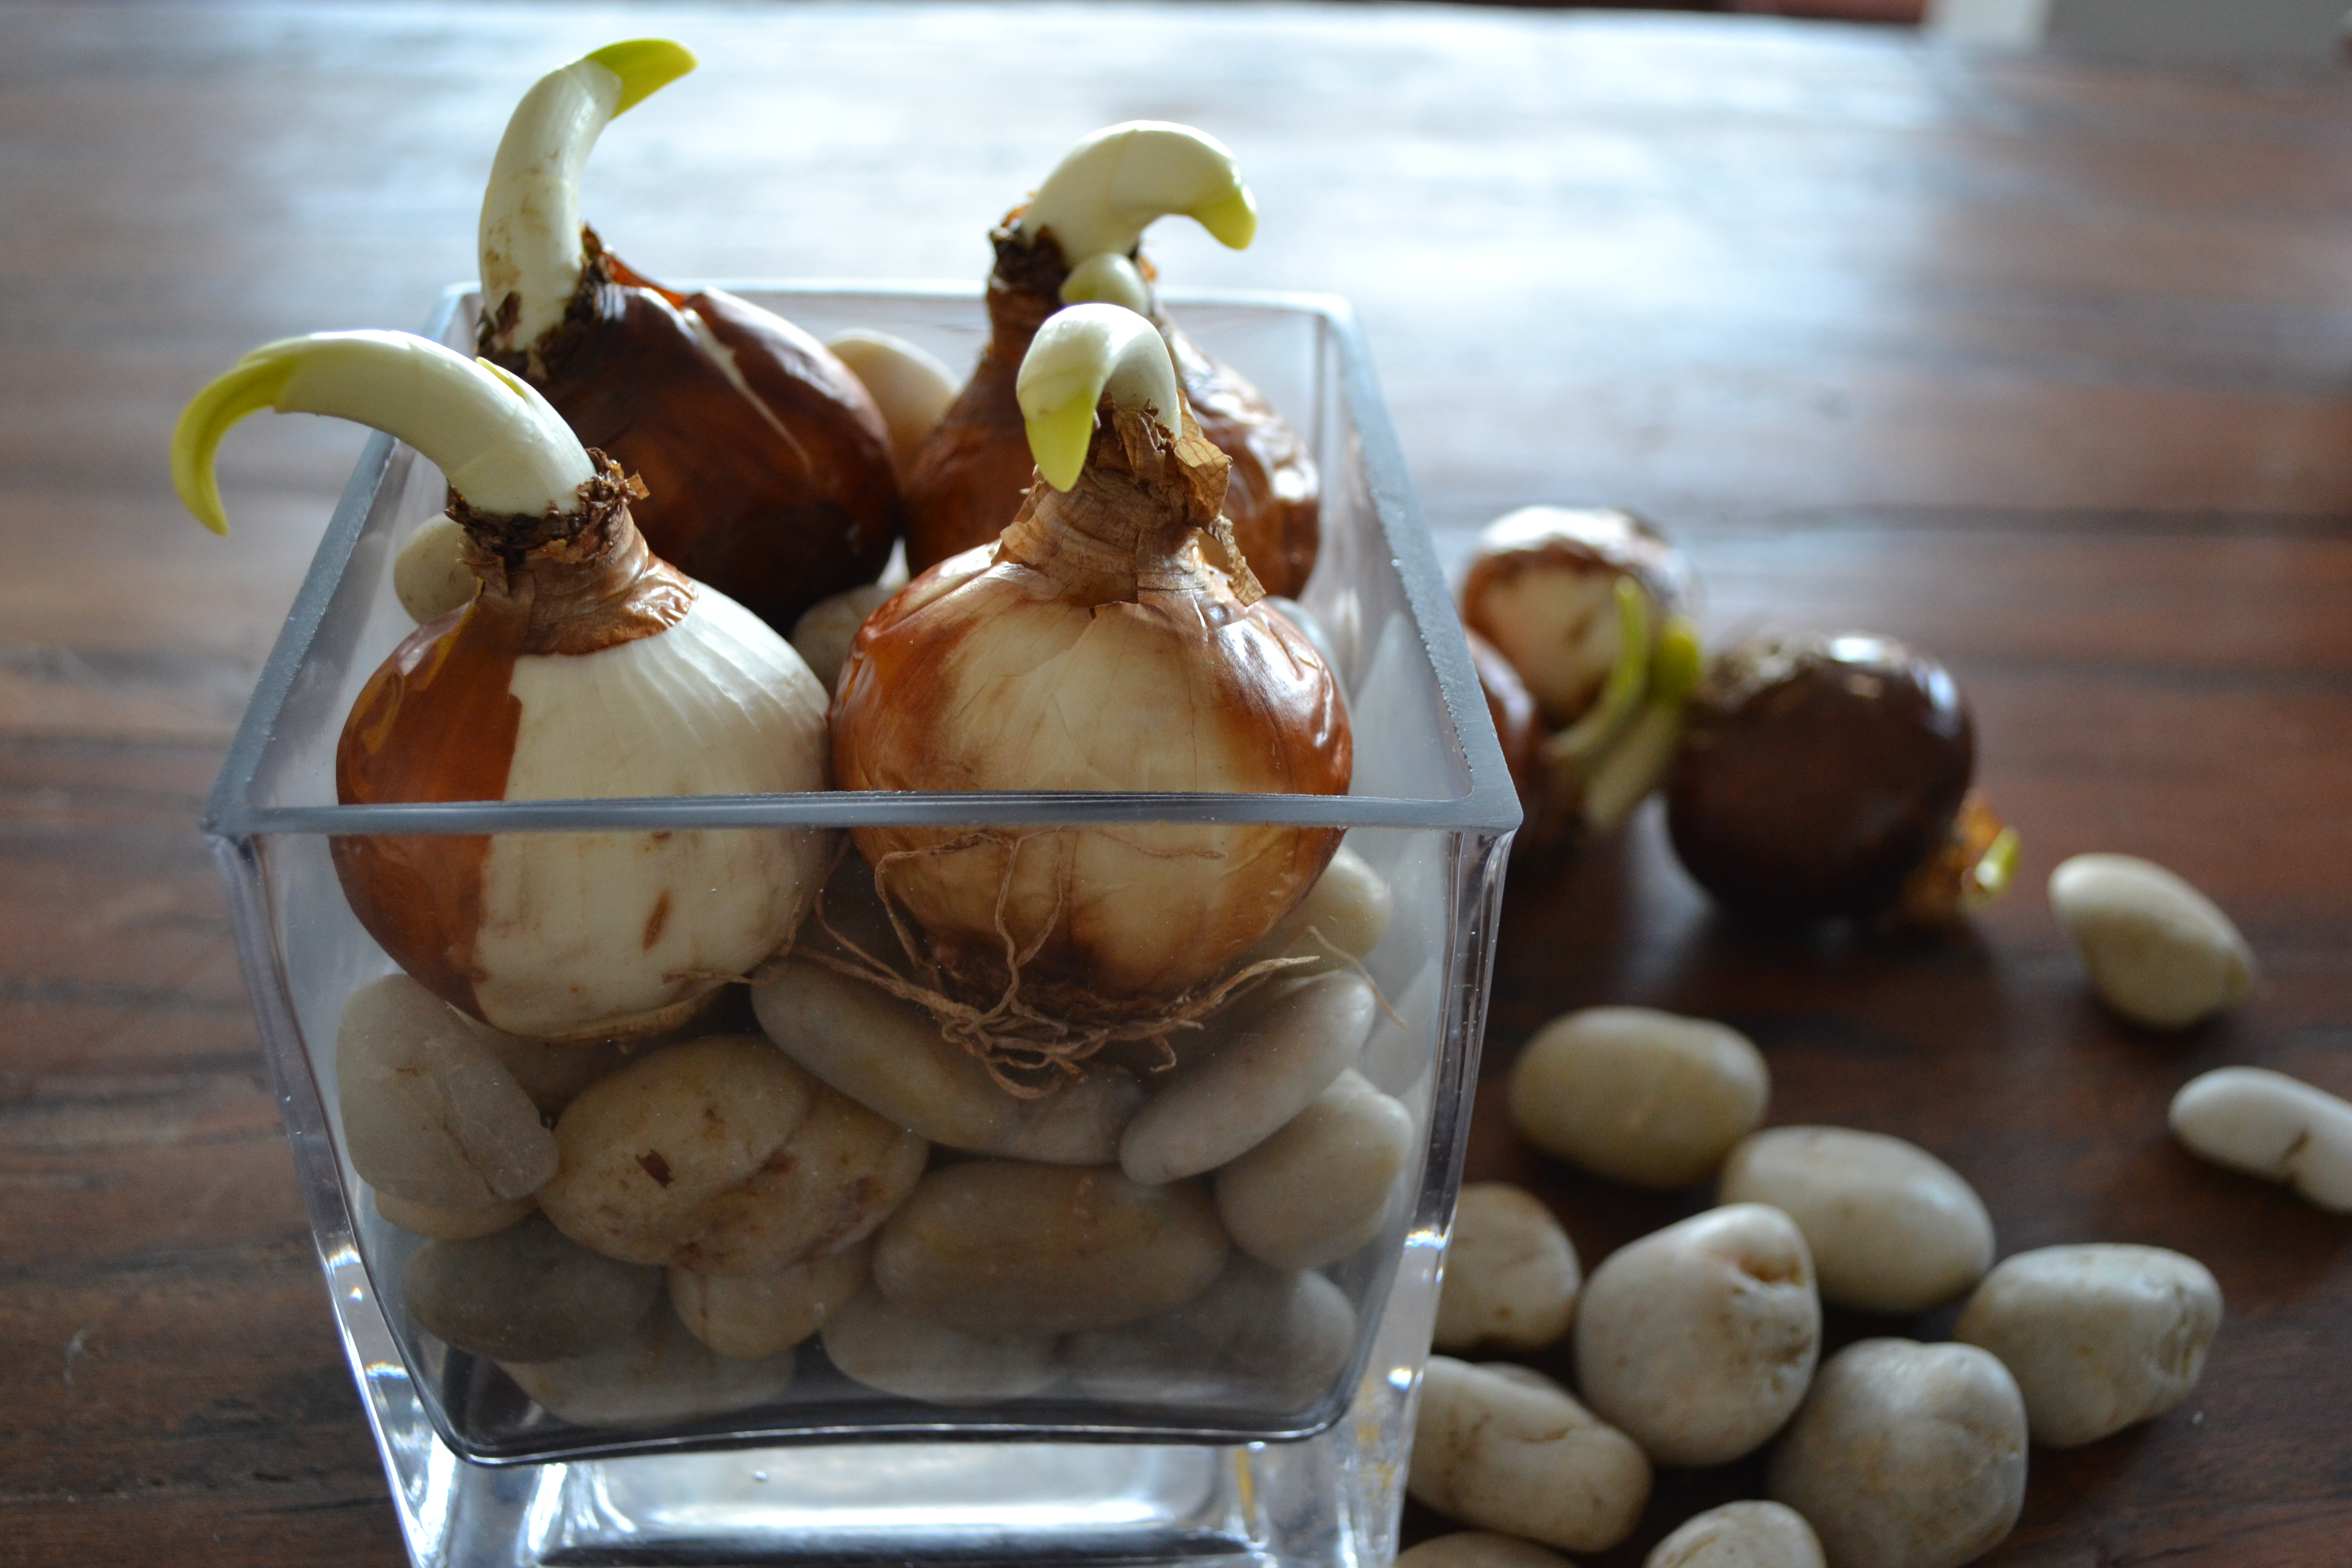
- Step 3: Rest the paperwhite bulbs on top of the rocks
- Step 4: Pour just enough water into the container to reach the base of the paperwhite bulbs.
- Step 1: Choose a container. As you can see below, I opted for super basic. I wanted to be able to see the bulb’s roots, and I wanted something modern. But you can go for pretty much anything. Tea cup. Big bowl. Whatever. But here’s one rule: unlike almost every other time you plant something, for paperwhites, you want to choose a container without drainage. So no holes.
- Step 2: Fill your container 2/3 full of gravel or river rocks. Here, you’re aiming to create an even bed for the bulbs to rest on. Gravel, pebbles, river rocks, marbles… they’ll all work. I went for river rocks.
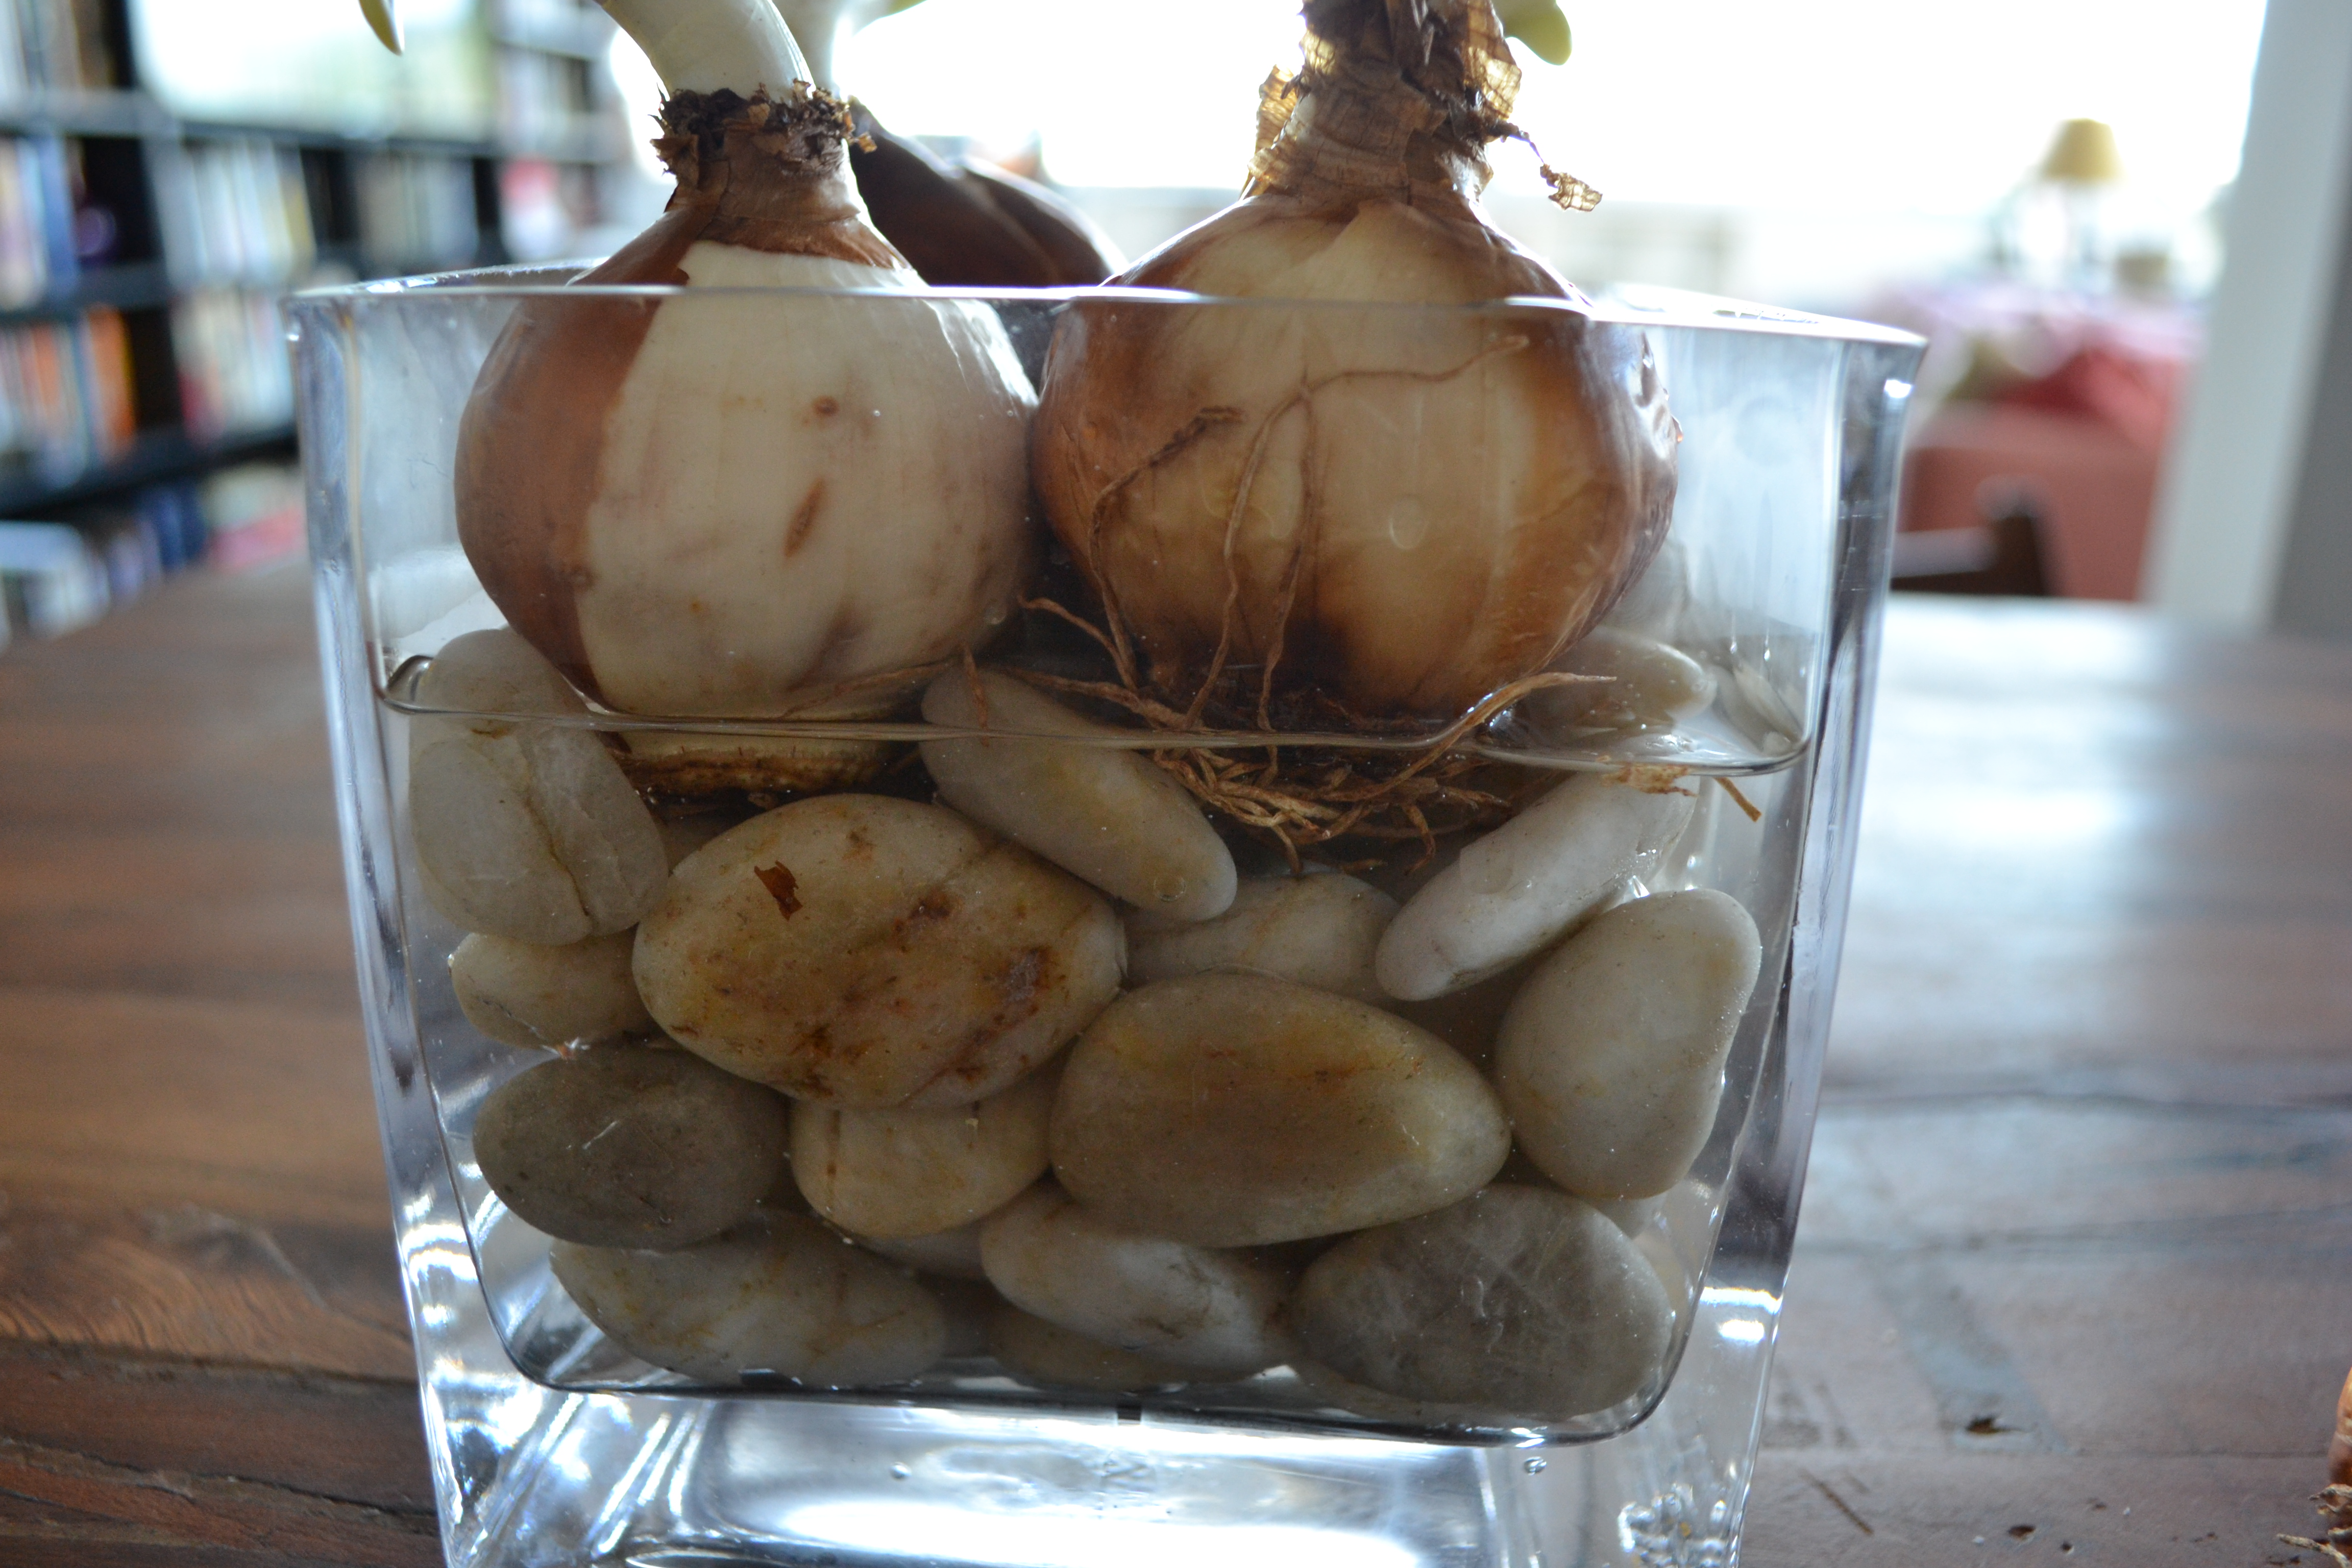
- Step 3: Rest the paperwhite bulbs on top of the rocks. Pick them up, put them down on the stones, nestle them in. Each bulb has a round root plate at its base. You’ll either see roots already coming out, or you’ll see an obvious rough area. Your aim is to have all those root plates at roughly the same level. You’ll see why in step 4.
- Step 4. Pour just enough water into the container to reach the base of the paperwhite bulbs. This is the only even remotely tricky part of growing paperwhites. You want the water to reach only the root plate, and no more. If you soak the whole bulb in water, it will rot. If you don’t get the water quite high enough, the bulb won’t grow. Thus the need to have all the bulbs level on top of the rocks. Take a look.
After that, just refill as necessary to keep the water at the right level. If you’re giving the paperwhites as a gift, pass along the watering instructions. Other than that, there’s no work required. They’ll bloom in sun or shade. Happy growing!
Tags: gifts, hostess gifts, paperwhites
I can’t believe how easy these are. The photographs are lovely. They make me want to put a few of these together just for the fun of it, even if I’m going to give them away as gifts!