Yes, I admit it, I made up the word “kerneling.” But it so perfectly encompasses the act of removing kernels from corn cobs, and I’ve spent so much time doing precisely that over the last week, that I think there should be a word for the task. Ergo, I petition that we should all adopt it into our communal culinary lexicon.
Ever a victim of eyes-bigger-than-belly syndrome, I bought a mountain of fresh picked-corn a little while ago from the market. So far I’ve added corn niblets to pasta, soups, tacos, stir fries, and cupcakes and I’ve creamed, pureed, roasted, and even juiced them. I’m currently distracted by a batch of toasted corn and brown butter pancakes in my mind’s eye waiting to be translated from fantasy to frying pan.
But enough about my gluttonous preoccupations – read on for the easiest method to kernel kernels, cooking tips, and a great way to put husks and naked cobs to good use.
How to Buy
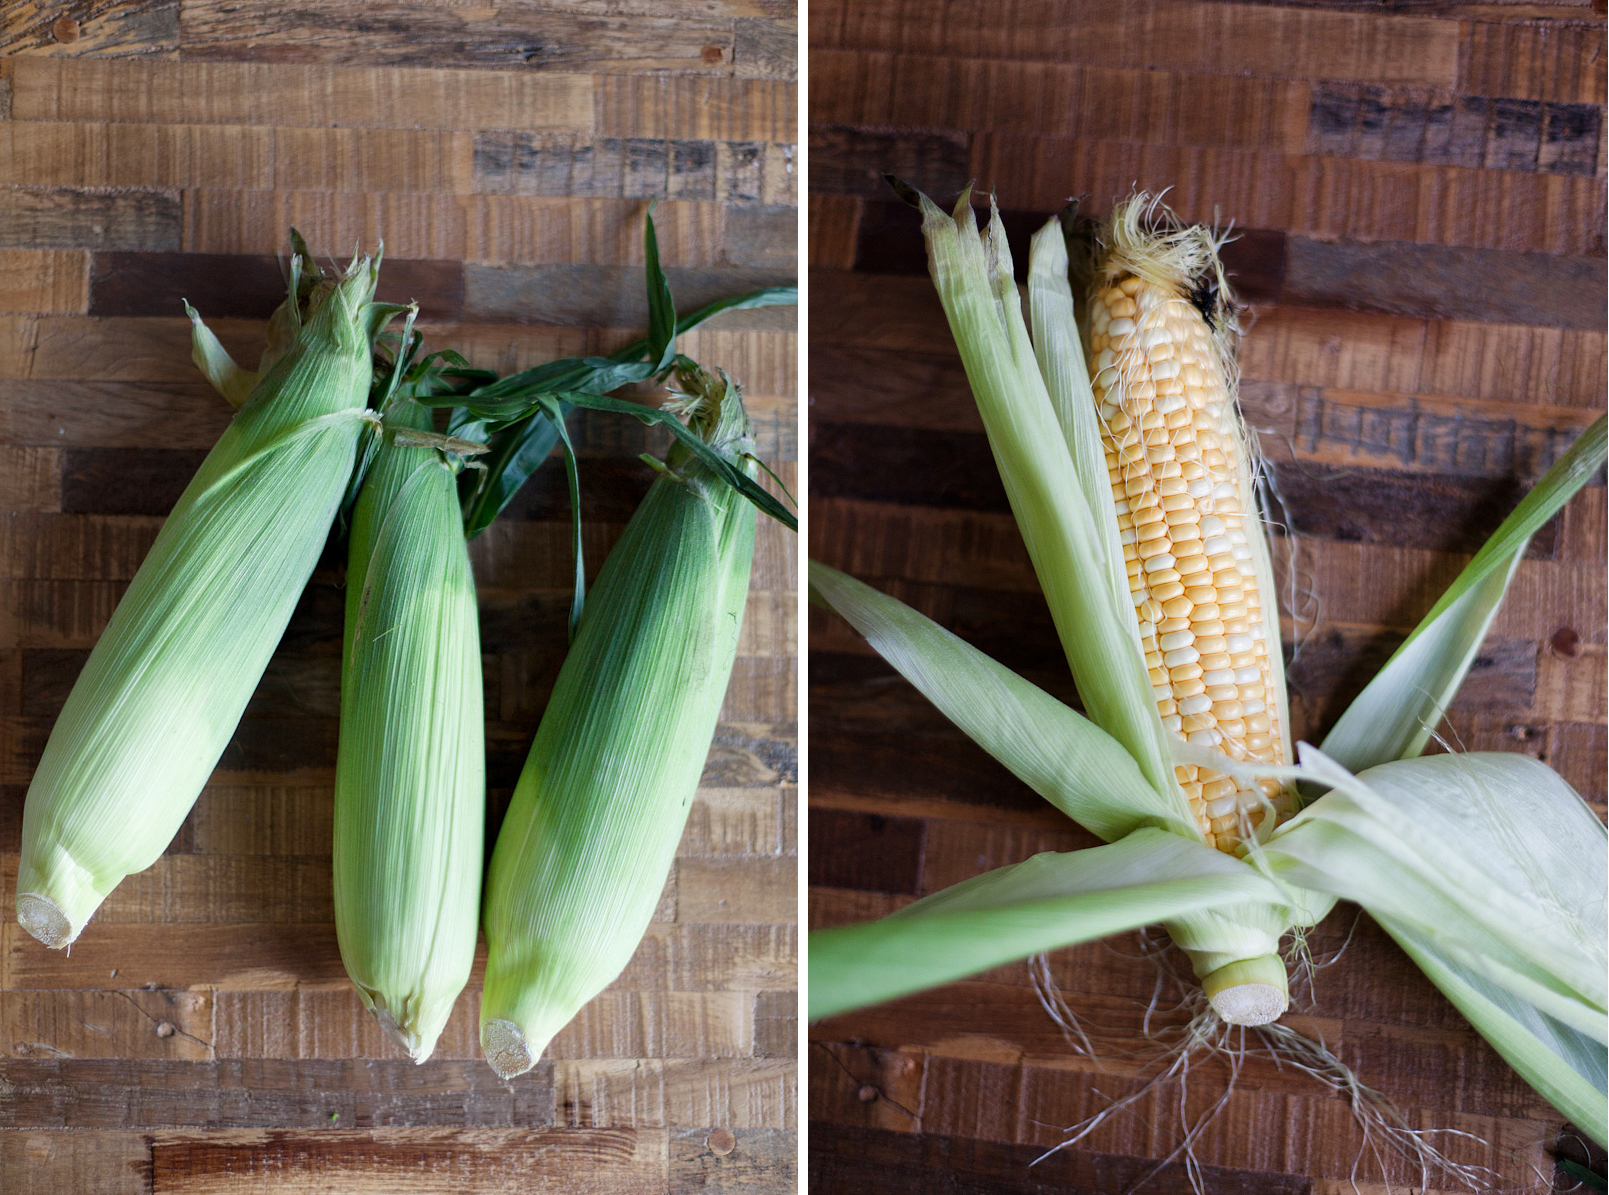
I know it’s a big ask to expect you to grow your own corn (although we’d be ever so impressed if you did), so here’s how you buy the best of what’s at your local market.
- Go for plump, voluptuous looking corn
- Seek out the greenest husks with lots of voluminous yellowy silk poking out
- Lift back some of the husk and make sure the kernels are fat and bright. Look out for worms (euwww) and shriveled up niblets – these should stay exactly where you found them!
Shucking Corn 101
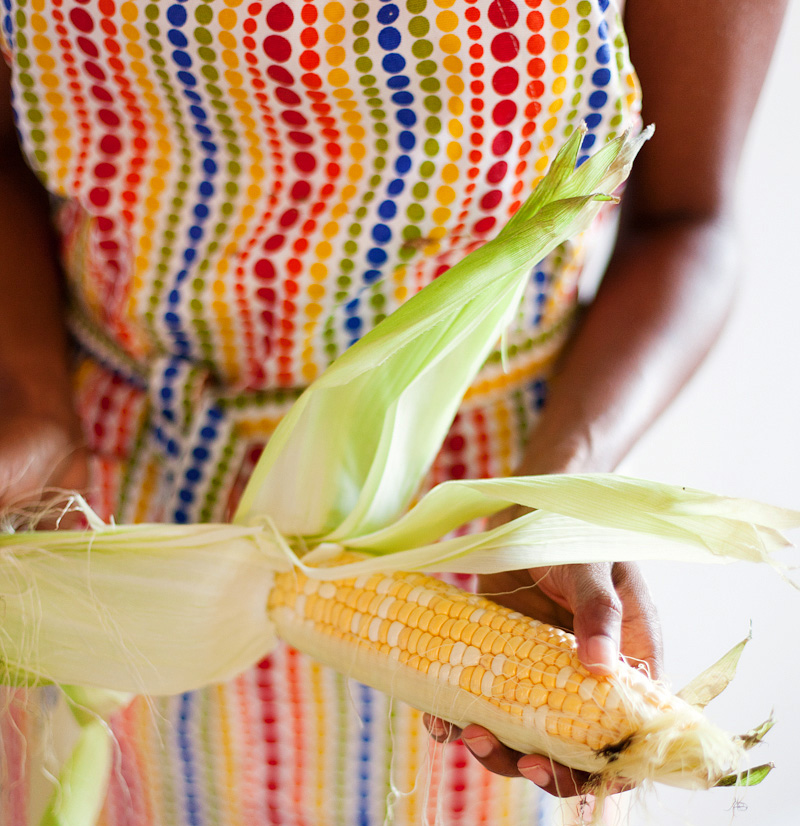
This is so easy, I’m not even sure it’s worthy of its own sub heading. But I’m in a generous mood, so it’s getting one. Basically shucking means to remove the green leaves and fine strands of silk that envelop corn. Just pull off the leaves – but don’t throw them away, they make a tasty broth. Then, near a trash can, pull off the silk (it can be messy), and discard. It helps to rub the corn with a dry paper towel to remove any stubborn strands.
The Art of Kerneling
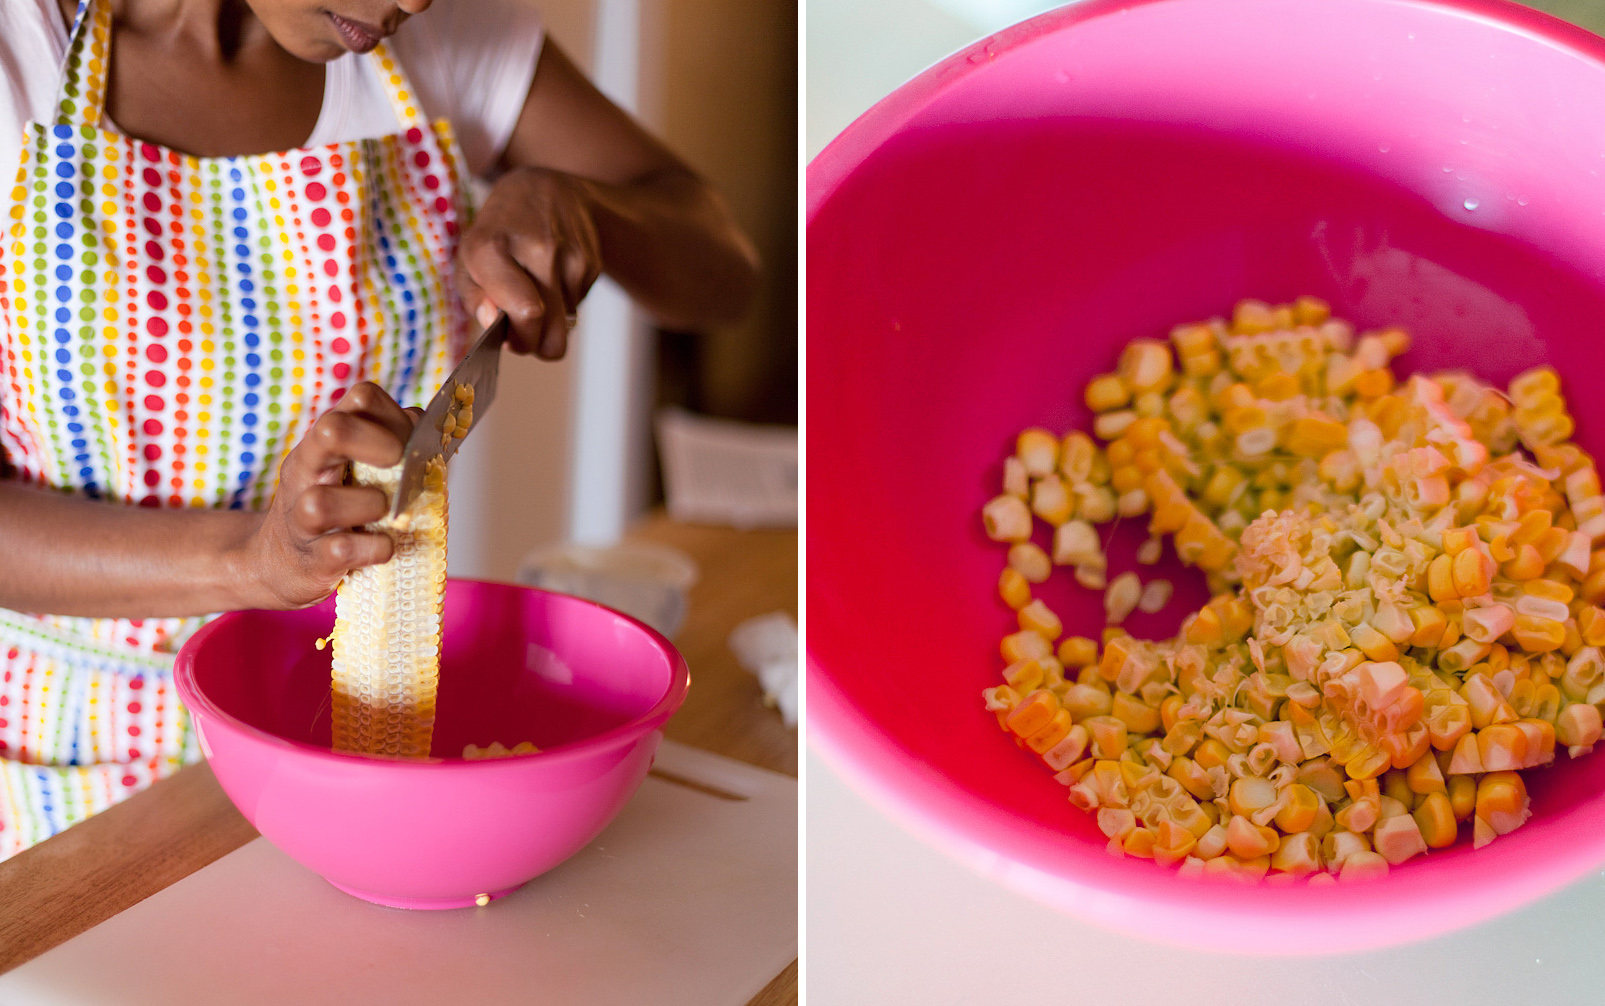
The first time I kerneled I did it directly on a chopping board. Bad idea. I spent 20 minutes on my hands and knees hunting down fugitive kernels. To keep your kernels from performing spectacular acts of acrobatics and flying tricks, kernel in a bowl. First off, chop off the very tip of the top of corn, so you have a flat surface. Then place the corn, flat surface down, in a bowl so you have a sturdy base, and hold the corn by its stem. Oh did I mention – always opt for corn with the stem intact. I didn’t, and it makes the challenge of keeping all of your finger tips a little…more challenging (see photo below!) . Then take a sharp kitchen knife, and run it down the corn from stem to tip, cutting the kernels off as you go. Be careful not to go too close to the cob, as you want to avoid the kernels picking up any tough, woody bits of cob. Rotate the cob until all the kernels have been dislodged and are nestled in the bowl. As with the husks, don’t throw away the cobs. They’re packed with corn flavor, perfect for broth.
Cooking the Niblets
Simply throw the niblets into a pan of lightly salted water and cook for 1 to 2 minutes until tender but still crisp. Drain, toss with butter, and serve. If using in another recipe, place under cold running water to stop them from over-cooking, then drain again.
Making Corn Broth
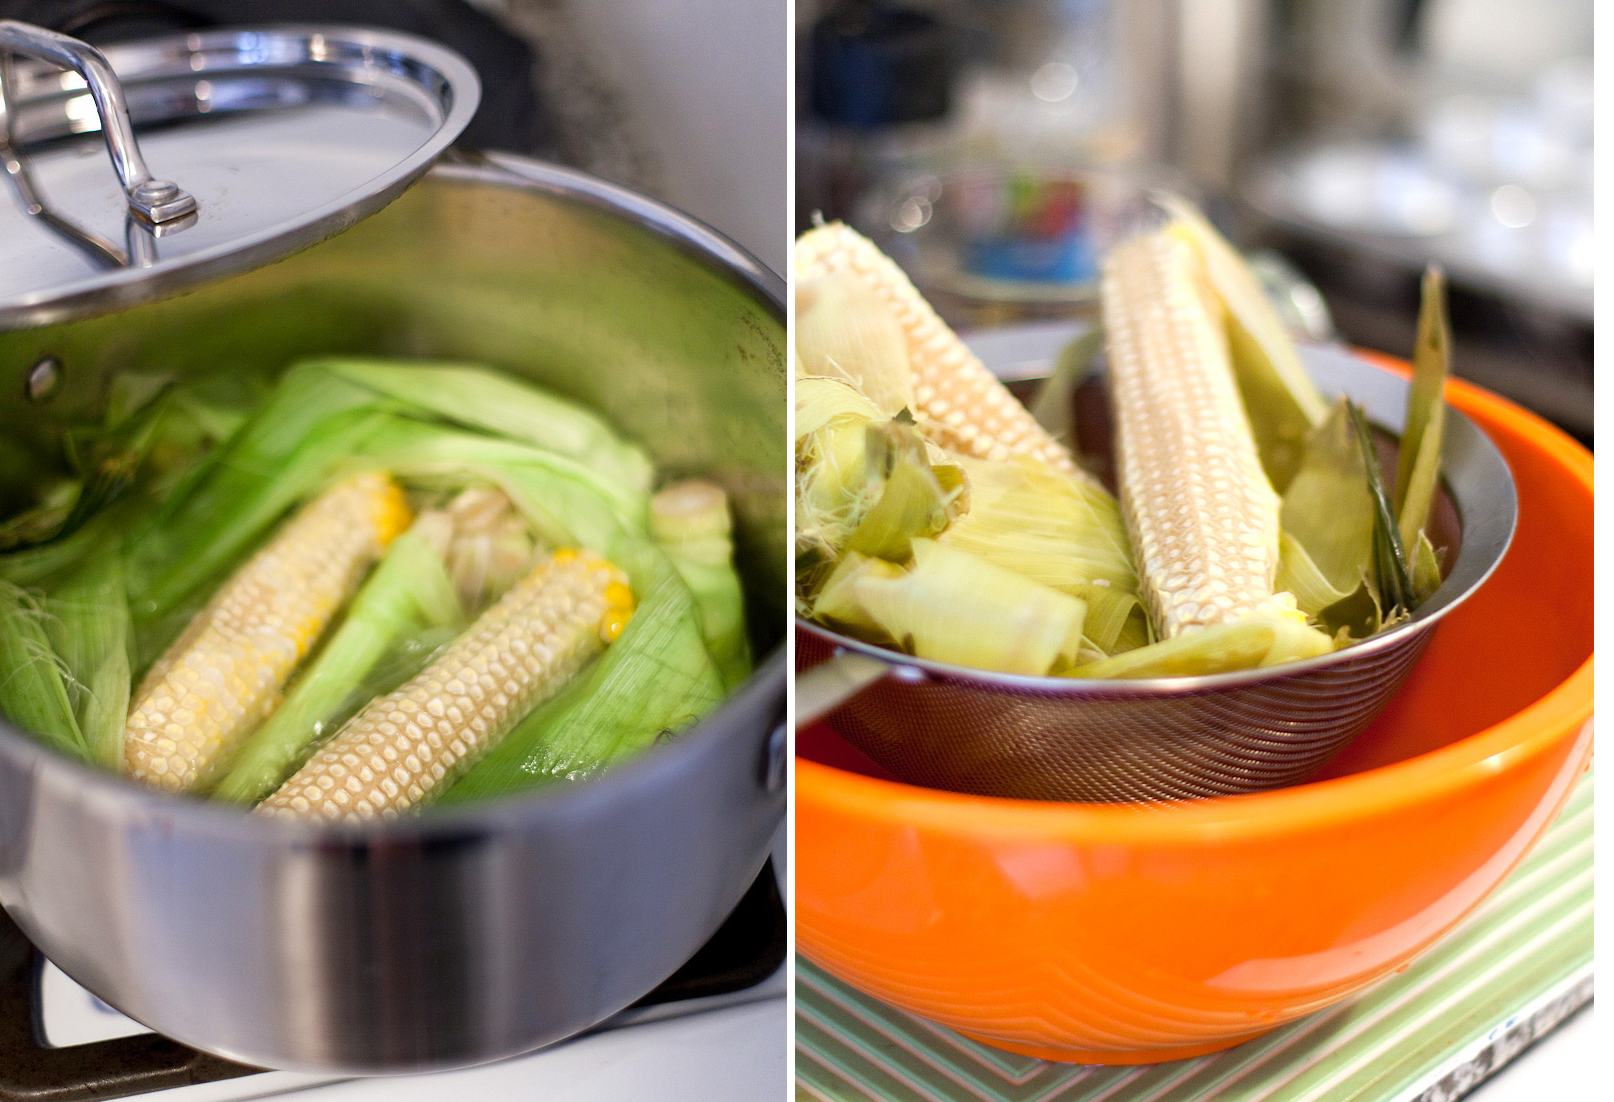
Remove as much of the silk from the husks as you can – it doesn’t matter if a few strands are left on, then place the husks and cobs in a pot. Cover with water – you want about 2 to 3 cups for every cob. Bring to the boil, then simmer over a low heat for 1 hour. Strain, cool, and refrigerate until ready to use. This broth would be ideal in a corn chowder, or really in any vegetable soup.
All photography in this post is by Alice Gao. For more beautiful photos, see Alice’s blog, Lingered Upon.
Tags: broth, cobs, corn, husks, niblets, shucking


I’ve just been throwing away my corn cobs for years! Silly, silly me. Corn broth, here I come!